Virtual access card
Download the mobile application
Activate your virtual access card in the mobile application
Alternative to virtual access card
A virtual access card stored on a mobile phone enables users to access restricted campus areas based on their individual access rights. To use a virtual access card, you must first download a designated mobile application to your phone. Your phone will then serve as your access card, allowing you to enter restricted areas. As a general rule, you will also need to enter a code on the access card reader to enter campus buildings during the evening, night, and weekends. The code is typically required at the external doors of campus buildings outside regular opening hours.
After the replacement of the campus access control systems at Tampere University, all access card readers installed across our campuses will be French-made STid readers. This is one of the reasons why STid Mobile ID was chosen as the designated mobile application. Virtual access cards are managed through the access control system integrations as well as by designated operators and main users. Virtual access cards are delivered to users via email and must be activated through a link provided in the same email.
Request a virtual access card using the form
As a university student or staff member, you can request a virtual access card by sending an automated email to your tuni address.
- Use the request form when logged in to the intranet.
- Confirm that you understand the terms and conditions of the activation request.
- Click "Submit" on the form.
- You will receive an automatic instruction message to your tuni email address from noreply [at] stidmobile-id.com (noreply[at]stidmobile-id[dot]com). This email includes instructions for downloading the STid Mobile ID app to your smartphone and activating your virtual access card through this app.
After receiving your virtual access card, you must activate the card using the same mobile phone that you will use for accessing campus facilities. The activation link is for one-time use only.
The mobile application required to use a virtual access card is compatible with Android phones running version 9 or higher. For Apple devices, iOS 15 or higher is required. While the application has been extensively tested and is continuously developed, users may occasionally encounter compatibility issues with specific Android versions.
On Android phones, the mobile application uses NFC and/or Bluetooth to grant access. You can choose your preferred method, enable both, or temporarily disable the rights when the access card is not in use.
For iOS phones, only Bluetooth is currently supported.
A virtual access card can also be deleted from a phone, either by the operator of the access control system or remotely based on automatic decisions made by the system. Automatic decision-making is utilised, for example, when an employment contract or study right begins or ends. The system also allows for the automatic deletion of access rights if a virtual access card is not used once within a specific timeframe. Staff members must carry an employee ID card but can still choose to use a virtual access card to access campus areas.
Download the mobile application
You will receive an email with a link to download the designated mobile application. This email will include two links: one for Android phones and the other for Apple phones. You can also download the mobile application directly from your app store.
Download and install the STid Mobile ID application to your phone (the same phone that you will use for campus access) from Google Play or App Store.
The link will be included in the same email that notifies you about your virtual access card (Image 1).
Accept the terms of use and grant the required permissions (Images 2-11).
Android phones will request access to location data due to an NFC feature that finds nearby devices. Location data will not be stored or shared. After you have downloaded the application, it will display one access card, which is automatically generated by the application (you can hide this card by adjusting the settings).
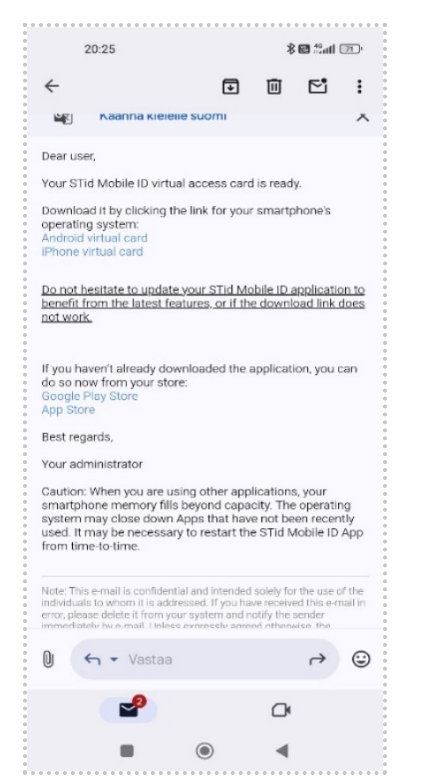
Image 1. Open the email you received from the address noreply [at] stidmobile-id.com.
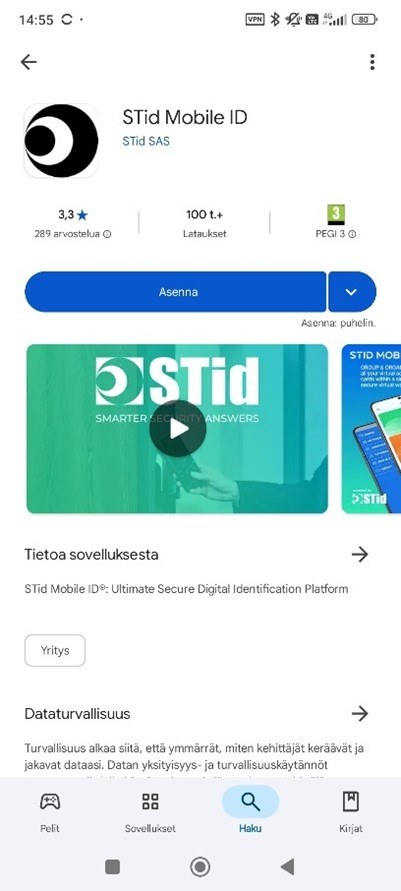
Image 2. Play Store (Android). Download the STid Mobile ID application to your phone.
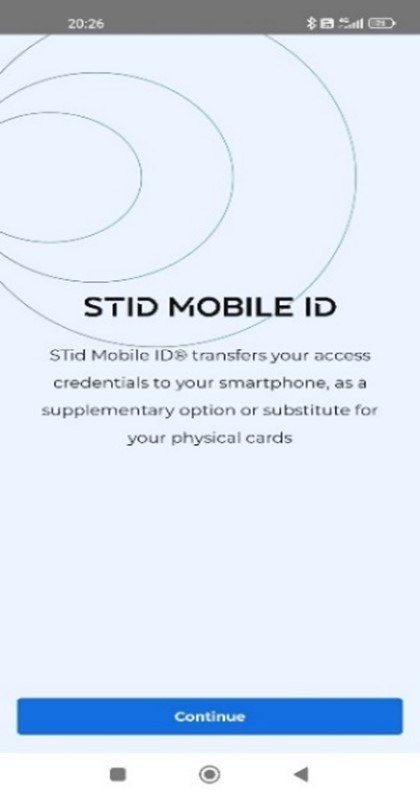
Image 3. Information page, proceed to the next step.
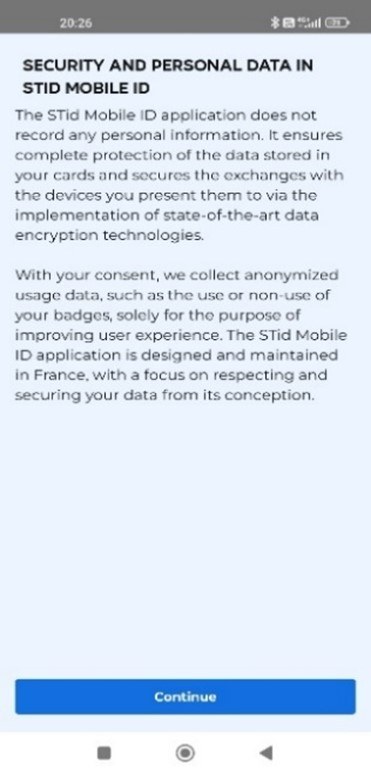
Image 4. Information page, proceed to the next step.
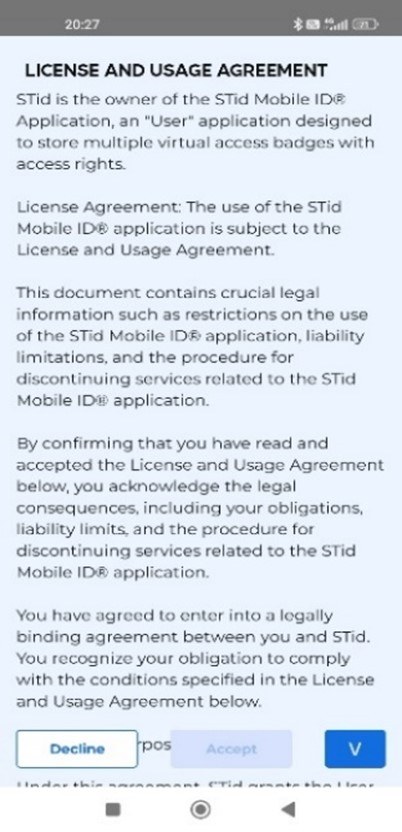
Image 5. Read and accept the terms of use concerning the processing of user data, page 1/3.
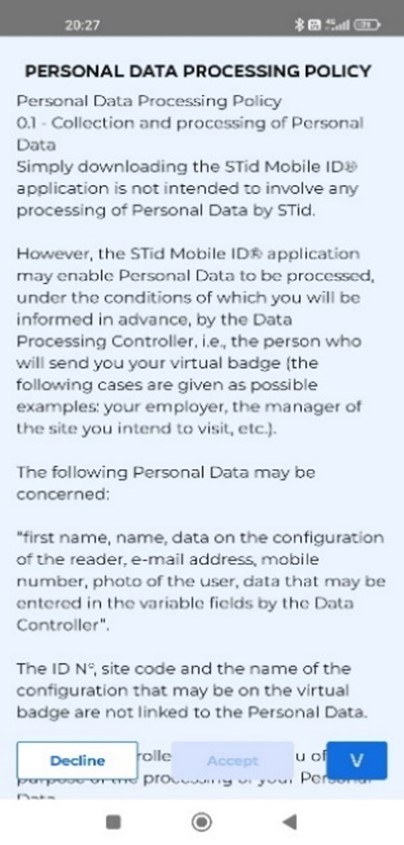
Image 6. Read and accept the terms of use concerning the processing of user data, page 2/3.
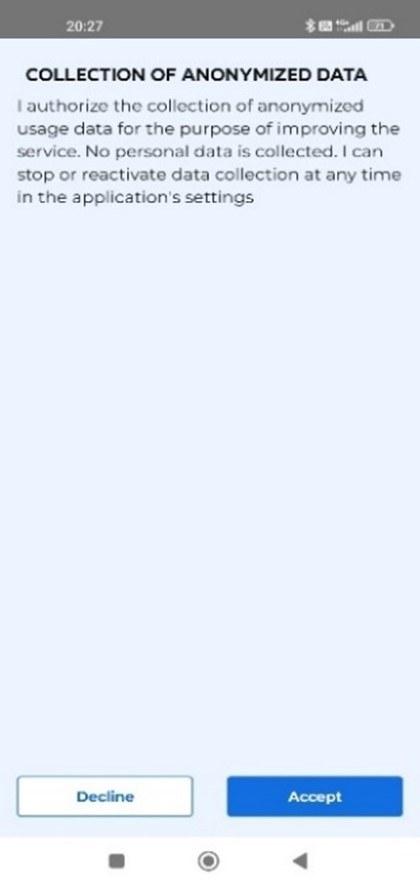
Image 7. Read and accept the terms of use concerning the processing of user data, page 3/3.
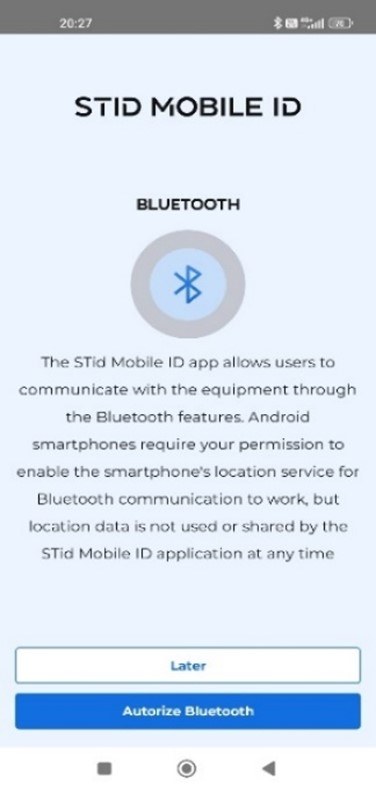
Image 8. The application asks permission to use Bluetooth. To grant this permission, select “Authorize.” You can also do this later by selecting “Later.”
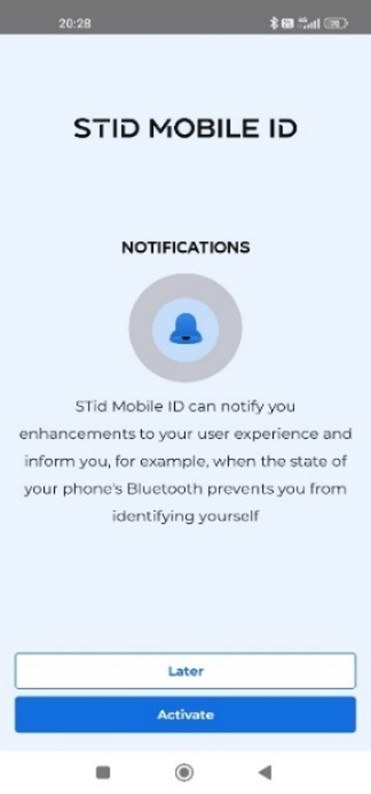
Image 9. The application asks for permission to use NFC (Near Field Communication). To grant this permission, select ”Activate.” You can also do this later.
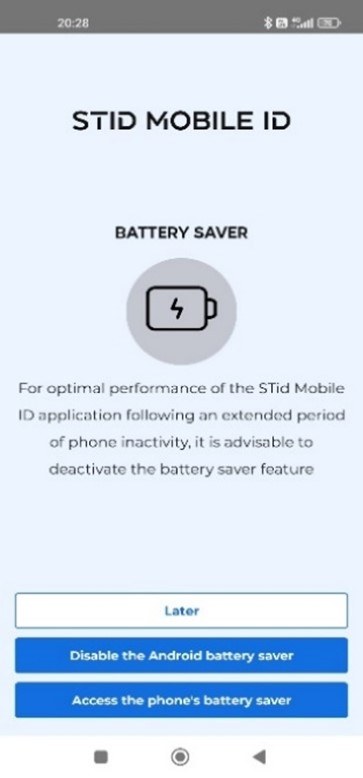
Image 10. Select the power saving settings for the mobile application. Best functionality is achieved by turning off the battery saver, but this will make your battery drain faster.
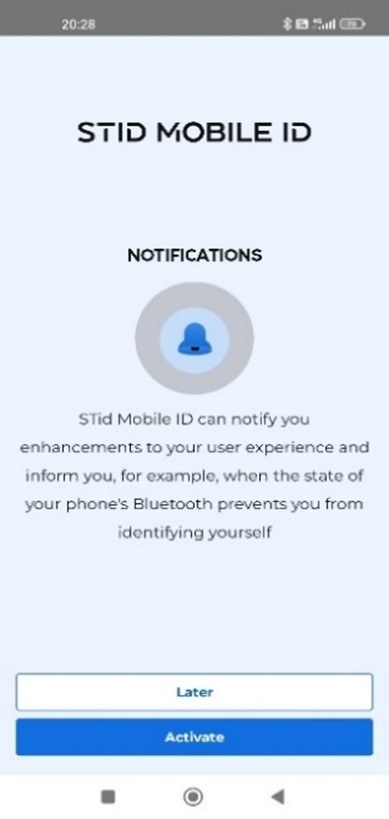
Image 11. Choose whether the application is allowed to send notifications. You can change these settings later. (Image 1/2)
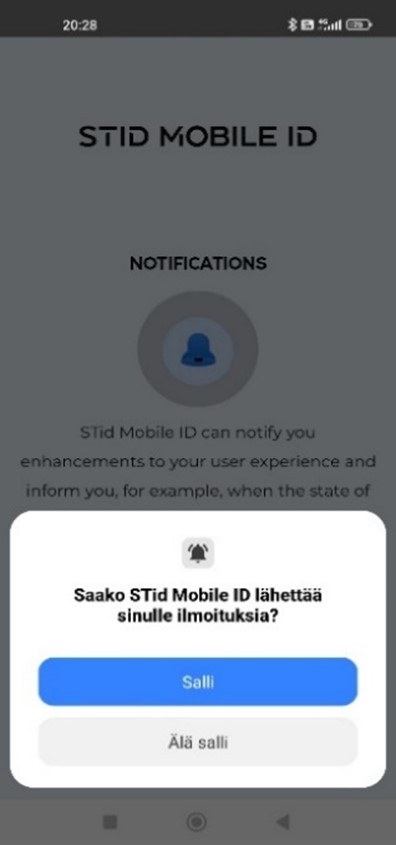
Image 12. Choose whether the application is allowed to send notifications. You can change these settings later. (Image 2/2)
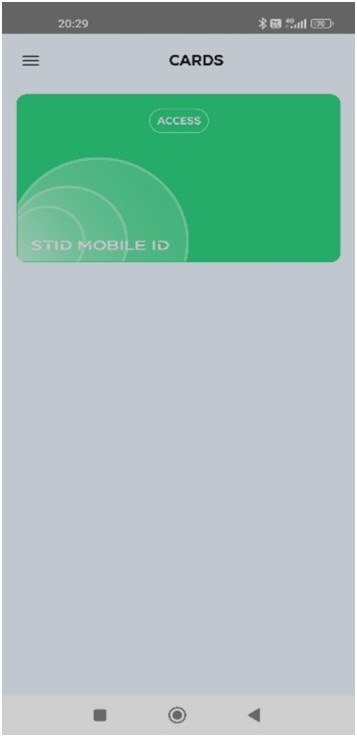
Image 13. The application already contains one access card. After you activate your TUNI virtual access card, it will appear as your second card in the application. You can adjust the settings to hide the green card.

Image 14. You can opt to watch a tutorial in the “TUTORIAL” menu.
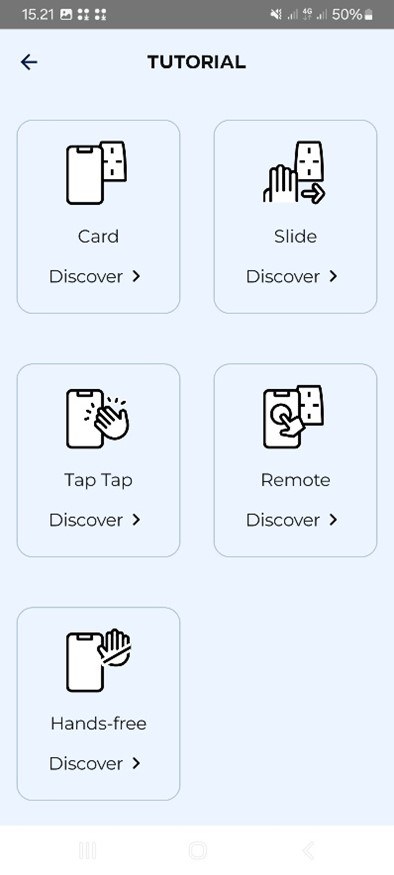
Image 15. In the TUNI areas, use the “Card Discover” setting (the first option in the menu) to gain access by briefly holding your phone near the access control reader.
Activate your virtual access card in the mobile application
1. Open the email you received using the same phone that you will use for campus access. You must activate your virtual access card using the same phone that you will use to access campus areas. The subject line in this email is “Download your STid Mobile ID Transferred Virtual Card(s)”.
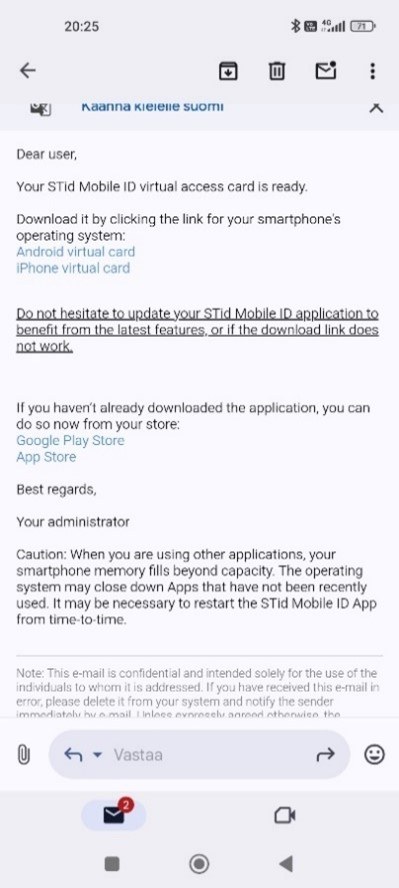
Image 16. Email notifying the user of a virtual access card.
2. Activate your virtual access card on your Android phone or iOS phone (Apple). The activation link is included in the email you received.
- The activation link is for one-time use only. It will expire once you have successfully activated your virtual access card.
- Do not delete the mobile application after activating your virtual access card! If you delete the application, you will also lose your virtual access card.
If you have any problems, please contact the access control system operators (campus information desks) or the system specialist.
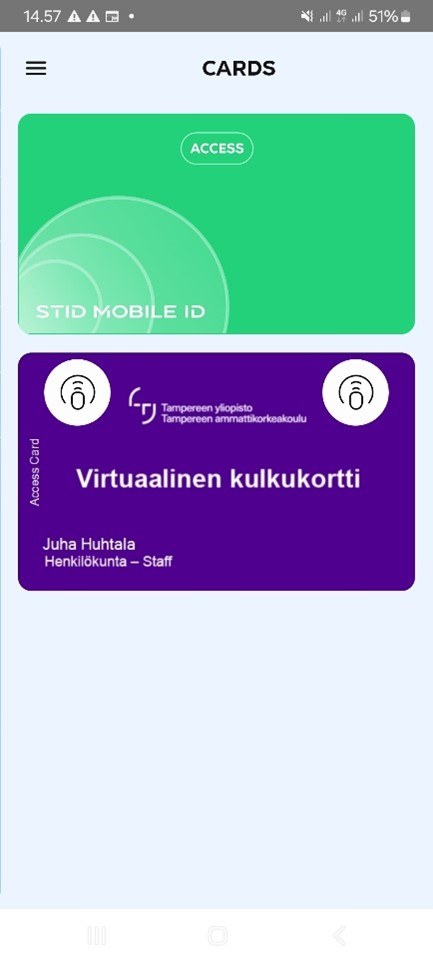
Image 17. Example of an activated virtual access card.
Alternative to virtual access card
Virtual access card is the preferred option for students to obtain access rights.
If you are unable to use a virtual access card, you as a student have the option to have a physical access card from the information desk in the Main Building (Päätalo) in the city centre campus. As the project progresses, the possibility to obtain the access card will expand to other information desks.
After paying the Sport fee, you have the option to have a physical access card from SportUni’s customer service desk, which is located at the ground floor of the Atalpa building.
Staff members can either begin using the virtual access card or collect a new employee ID card (which includes access rights to authorized areas) from the information desk in the Main Building (Päätalo) at the city centre campus. Päätalo Info desk is open from Monday to Friday from 8 to 16 and on Saturdays from 8 to 15.
Further information on the replacement of access control systems: Lenel [at] tuni.fi